I started this post way back in 2014 when we were decorating our first daughter’s bedroom. This project was to be the pièce de résistance of the nursery and I actually managed to get in finished in time for her arrival. Of course, she didn’t come home with us, so we covered the furniture, pulled down the blinds and shut the door on that room until our little B was on her way. I worked really hard on this, and now, as we’re transitioning her room from a baby to toddler space and are considering taking it down to do something else, I think it is worthy of a post, even if it is three years after it’s completion.
Have you ever taken on a craft project and realized you’re in over your head?
It happens to me more than I care to admit. Pinterest is obviously at fault. No matter how many times I remind myself that most of my pins have been designed and photographed by professionals, I still try to live up to those impossible standards.
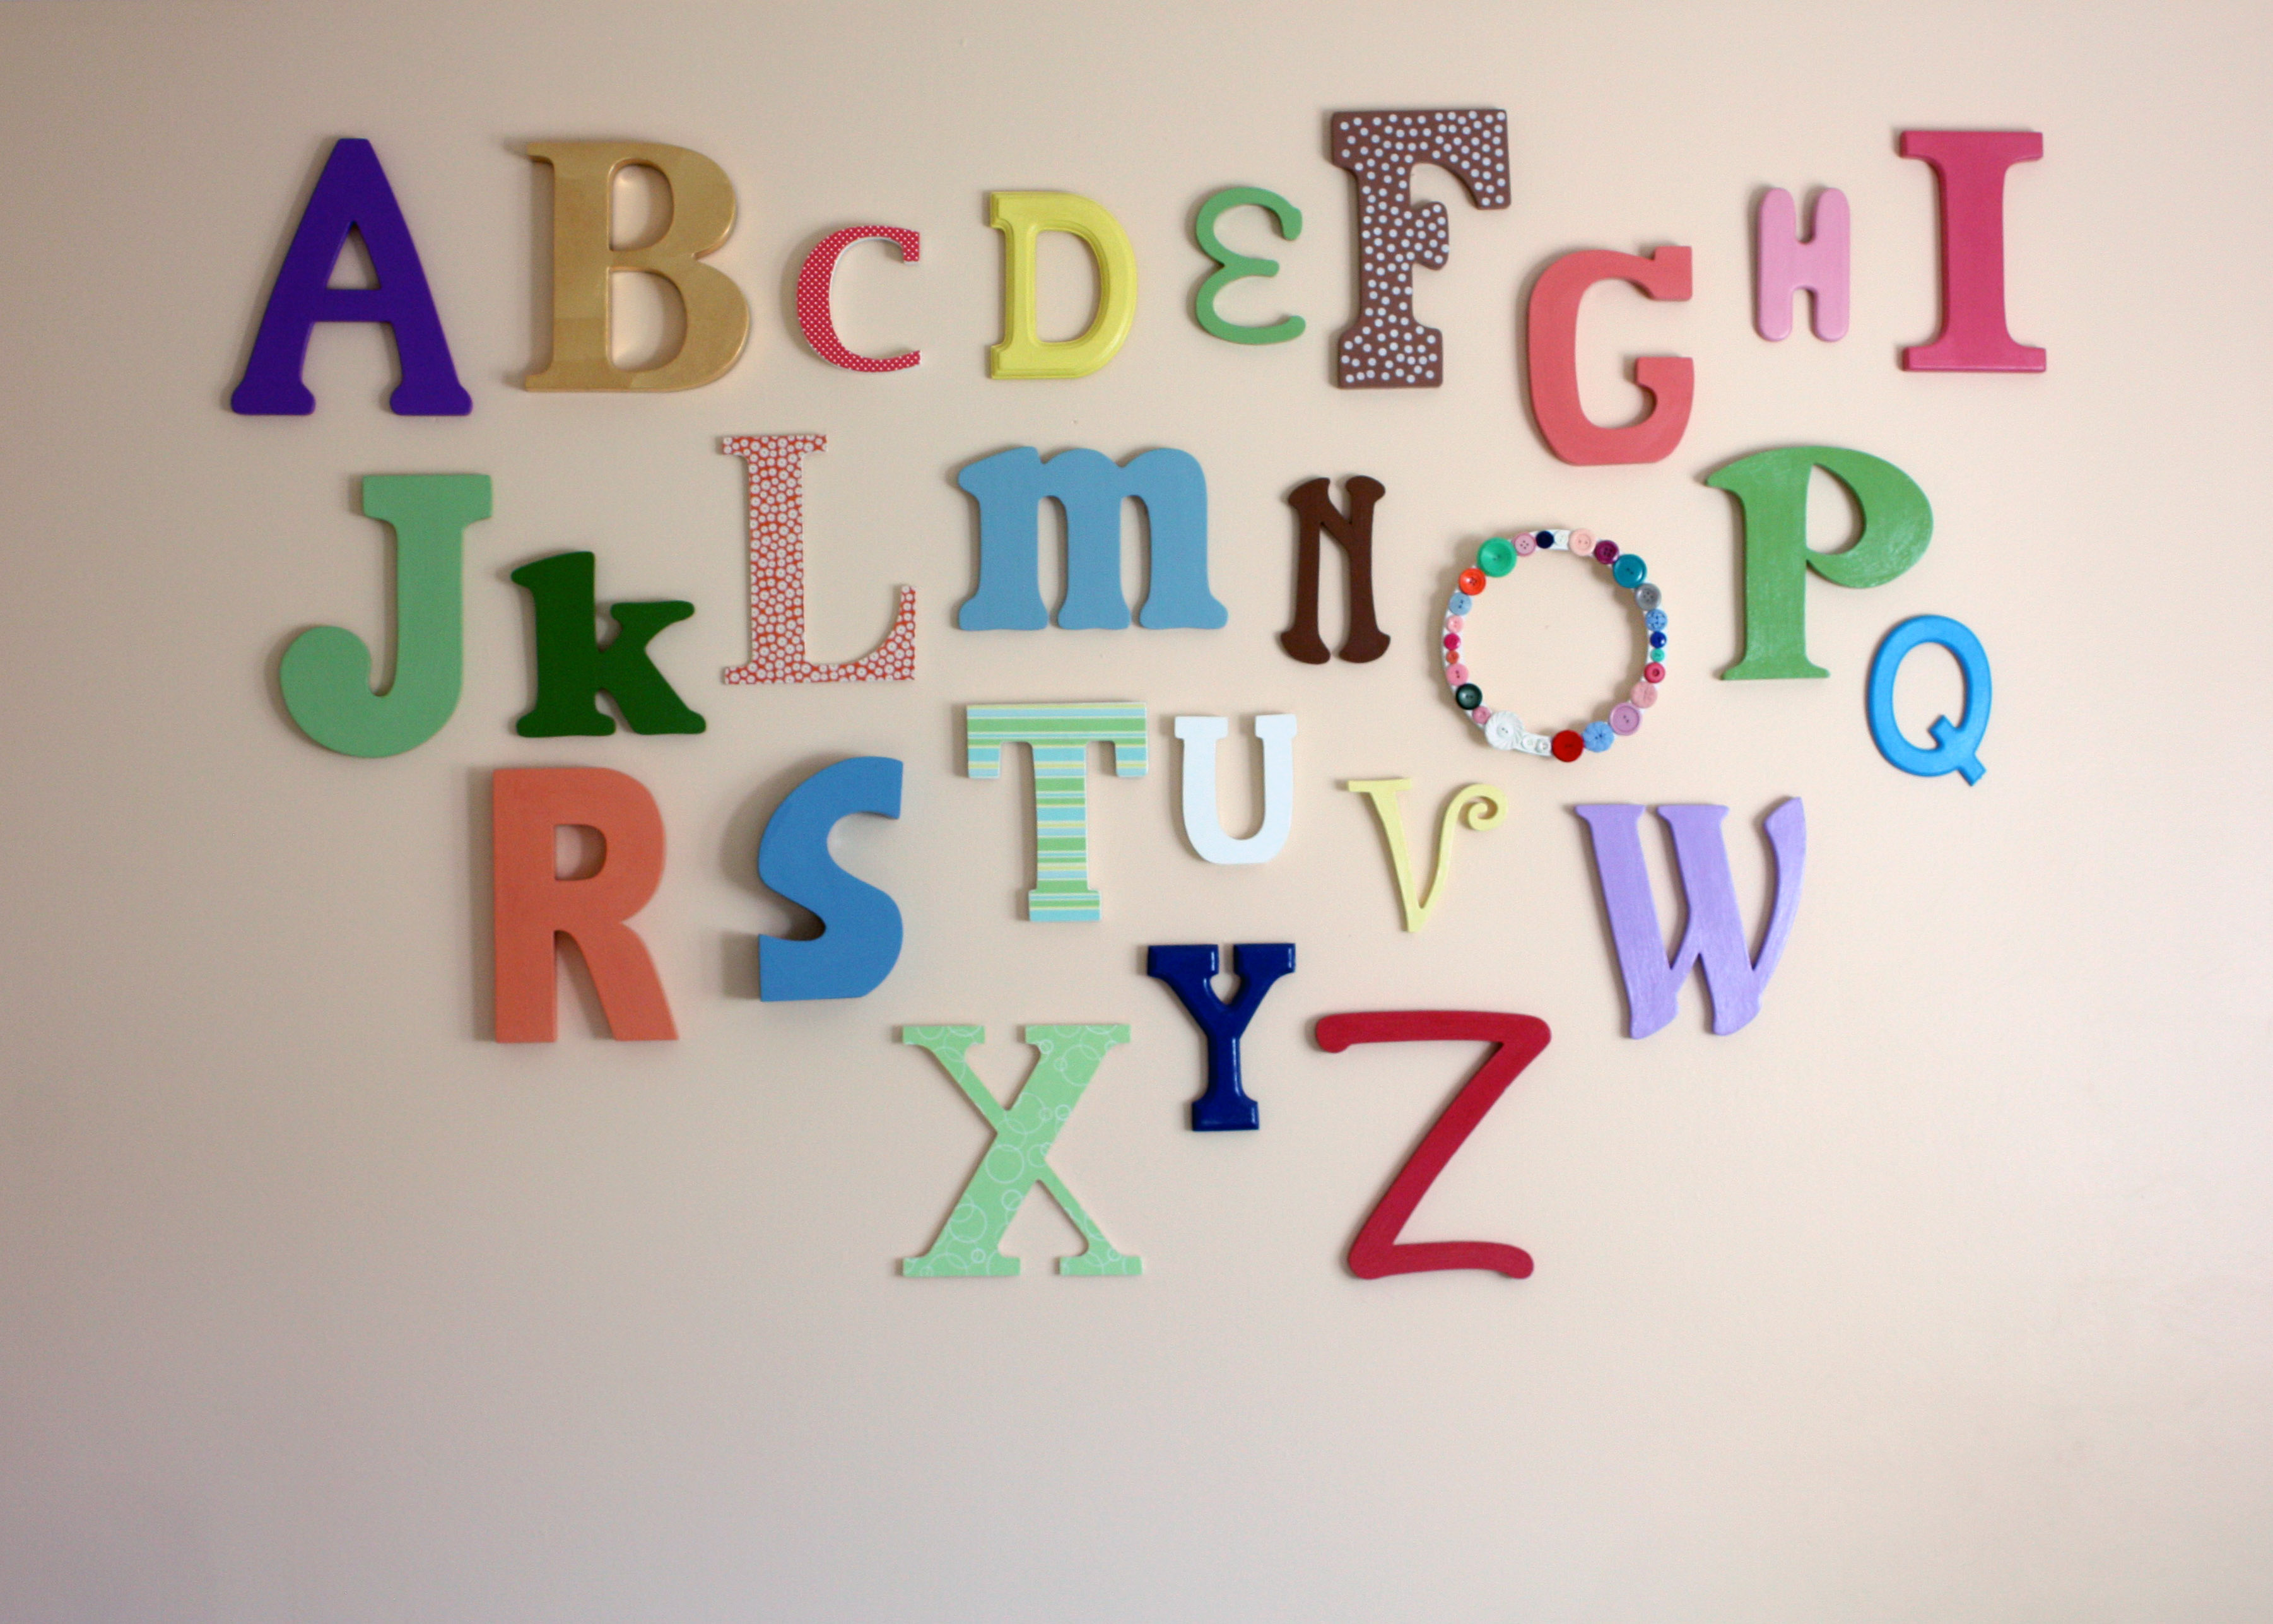
In late 2013, I was in full nursery decorating mode. At this point, we knew we were having a girl and we’d decided on apricot for the walls and a bright green shag rug from Ikea. For the back wall I was obsessed with the idea of an alphabet wall with an eclectic arrangement of different fonts, sizes and colours. If you do a search for alphabet walls there are tons of them similar to ours – it’s been done many times and seemed simple enough in theory, but it turned out to be far more work than I’d bargained for. Once I got started though, there was no turning back.
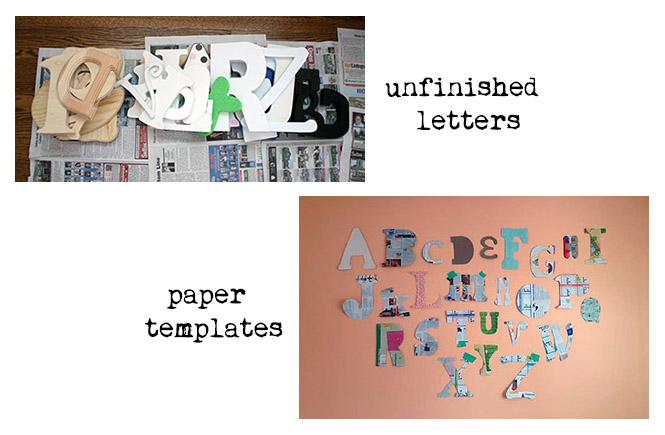
I will preface my vague instructions by telling you that you can buy a kit for this. It comes with all 26 wooden letters, unfinished, and costs around $100 on Etsy. I would really recommend this route if you are looking to try this yourself.
I didn’t buy the kit. Instead, I thought I could save a buck and decided to hunt down the letters on my own. It took a lot of time and energy, and really didn’t save me enough to make it worth the hassle. By the end, the cost of the letters alone, actually came close to the kit price.
Collecting the letters was time consuming and a huge pain in the ass. They came from everywhere – thrift, dollar and department stores, plus every craft/art supply store within a 100km radius. I kept a list to keep track of the ones I’d already bought but I wasn’t overly concerned about the size, case or fonts of the individual letters, I just focused on finding one of each.
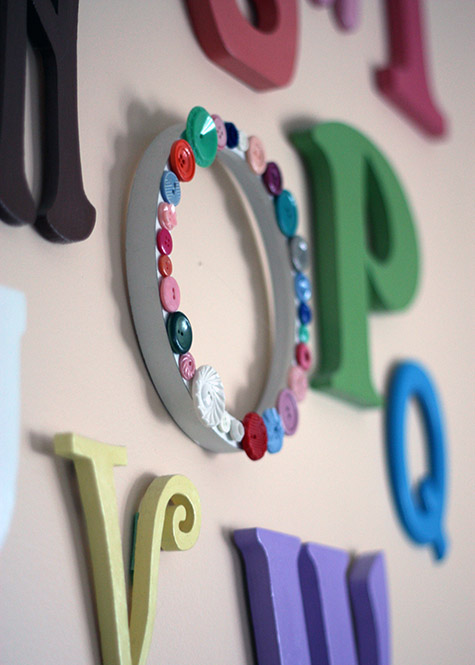
Next came the fun part – painting and decorating. I used acrylic craft paint for most of them. I just bought a handful of basic colours and mixed different shades. I also bought some patterned scrapbooking paper and used mod podge to glue and seal. Then on the O (which was actually a small Ikea mirror), I added buttons because it just felt right. I didn’t have a definitive strategy for colours, I just made it up as I went along.
At this point, they were almost ready to hang. I added hardware to the letters that didn’t come with hangers already. For the ones thick enough to hammer a nail into, I used small metal saw tooth hangers, and for the thinner letters, I used adhesive fabric eyelets (both can be found with the picture hanging thingies in any hardware store).
Then, to get the layout just right, I cut templates out of paper and arranged them on the wall. This step took FOREVER. It never ceases to amaze me how difficult it is to make things appear random. After almost a week of arranging and rearranging the templates, it was finally time to hammer in the nails (I used thin, 1 inch nails).
The overall cost was about $130 in the end, including the letters, paint, and hardware. This was certainly one of my more successful Pinterest inspired projects and I was really proud of the end result. The execution was a bit of a fail though – if you’re trying this at home, buy the kit. You won’t regret it!